Manage instances
As an NeCTAR Cloud administrative user, You can manage instances for users via NeCTAR Dashboard. You can perform many tasks such as view, terminate, reboot and create a snapshot from an instance, etc.
Control the state of an instance
To manage and change the state of an instance, you can login to the NeCTAR Dashboard or do this via the Command Line Interface. We have a tutorial here to help you do this. This article gives a brief explanation about the options available, in terms of managing the instance state.
You can refer to this document to see more information about managing instances.
Create instance snapshots
To create an snapshot, refer to our tutorial here.
Important note!
You should always pause the instance before you snapshot it. However, live snapshot is also possible and you need to make sure the snapshot is consistent with the instance as the snapshot doesn't capture the state of the memory. So before snapshot, you need to ensure that:
running programs have written their contents to disk
the file system does not have any 'dirty' buffers
In the terminal/command line, while you are logged into your instance (via SSH), you can execute sync to write dirty buffer to disk. It is not sufficient to only use sync to get file system consistent. It is recommend to use fsfreeze tool. In ubuntu, you can run sudo apt-get install util-linux to install the fsfreeze tool.
To freeze a file system, you can run fsfreeze -f /mnt as a root user in a command line console, where /mnt is the file system mount point.
After you created the snapshot, you can unfreeze the file system by executing fsfreeze -u /mnt where /mnt is the file system mount point.
You can refer to Taking Snapshot for more information.
Change security group
You can click "Edit Security groups" from the drop down list to add/remove security group for a running instance.

From the screenshot, You can see the currently applied security groups are listed on the right hand side and left hand side is a list of available security groups. You can click the plus button to add the available security groups to the right hand side and click the minus button to remove a security group. Once you have done, you can click 'Save' button to save your changes.

Launch a VNC console
Sometimes, you need to access your instance directly via a web browser and you can do it by using the VNC console. The console provides a great way to access the instance if you haven't open port for SSH. You may need to set a password before using the VNC console, which you can do via tutorials here.
For information on accessing the VNC console via the Dashboard, view this tutorial.
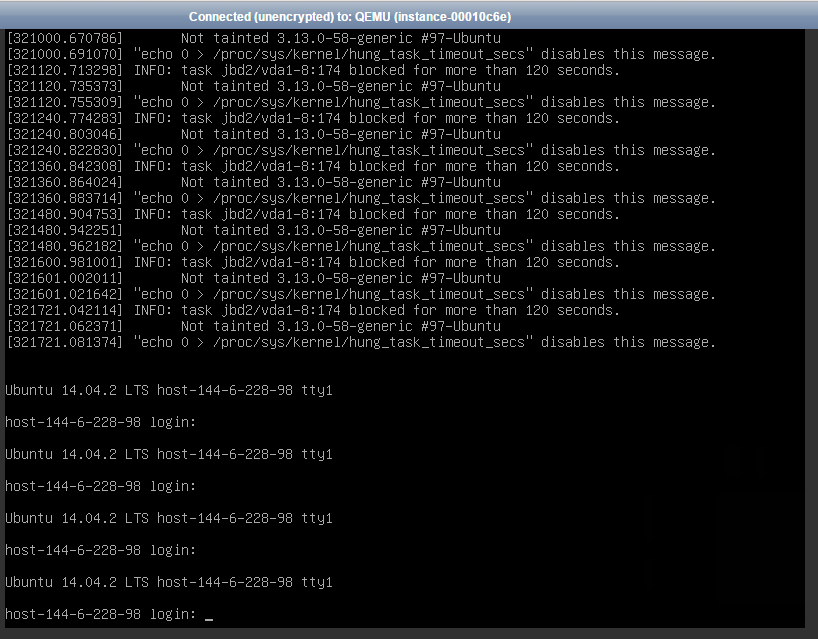
Below is an example of the VNC console.
View log
The console log provides very useful information that may be required in troubleshooting issues. You can access the log by clicking "view log" item from the action drop down list. After clicking, you should see the following screen: (note we've blurred out the contents of the log below).

This gives you the latest system log messages, if you want to see the full logs, you can click the 'View Full Log Button'.
Create and Manage Volumes
You can attach volumes as persistent storage to instances. You can attach or detach a volume from a instance at any time and it is also easy to create snapshot from or delete a volume.
To create, mount and detach a volume, you can follow the steps in our tutorial here.